
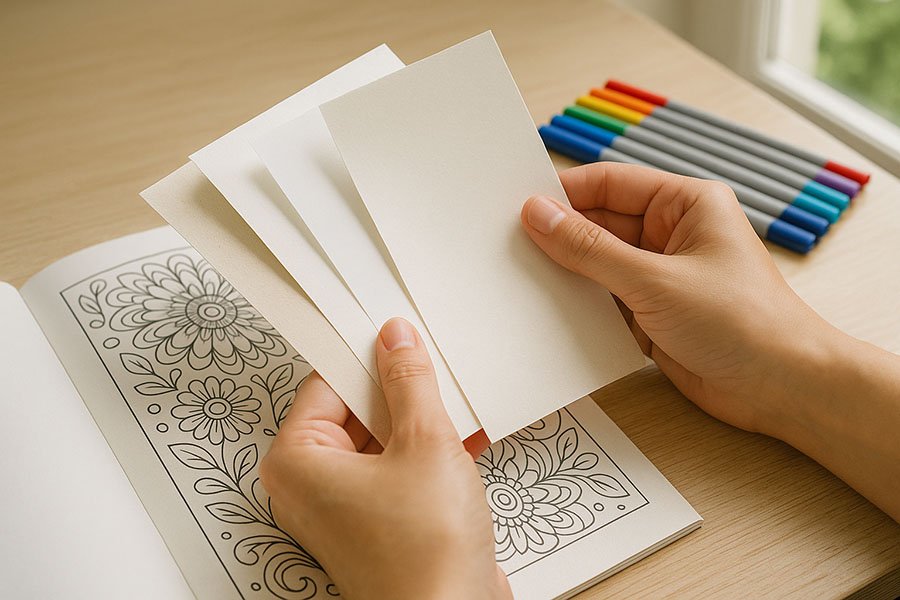
Mandalas—a Sanskrit word for “circle”—are intricate, symmetrical designs that radiate from a central point. Coloring them is equal parts meditation and art, making mandalas the perfect entry into mindful creativity. If those densely packed petals and geometric rings look intimidating, don’t worry. With the right tools and a handful of beginner-friendly techniques, you’ll be creating eye‑catching mandalas that soothe the mind and sharpen your color sense. Let’s dive into everything you need to get started.
1. Why Mandalas Make Great Beginner Projects
- Built-In Symmetry: The repetitive structure guides your color choices—you only need to decide once for each ring or section.
- Mindful Focus: Following repeating patterns encourages a flow state, reducing stress and boosting concentration.
- Skill Growth: You can begin with simple designs and gradually tackle more detailed ones, seeing progress in real time.
2. Essential Tools for Mandala Success
Colored Pencils
- Why they shine: They layer and blend smoothly inside small spaces.
- Starter set: 24–36 colors of soft‑core pencils (Prismacolor Premier, Faber‑Castell Polychromos, or a budget set like Castle Arts).
Fineliners & Gel Pens
- Purpose: Fineliners (0.3–0.5 mm) add crisp outlines or fill tiny motifs, while gel pens provide pops of metallic or neon.
- Tip: Store pens horizontally to avoid dried‑out tips.
Alcohol Markers (Optional)
- Benefit: Vibrant, even color fills. Best on single‑sided, heavyweight paper.
- Starter trio: Light, mid, and dark shade of each hue for easy gradient effects.
Blending Tools
- Colorless blender pencil: Smooths waxy layers without altering hue.
- Paper stumps & rubbing alcohol: Help blend alcohol marker layers.
Paper Choices
- Printed books: Look for perforated pages on 160 gsm paper to prevent marker bleed.
- Printable designs: Use 200 gsm smooth cardstock for markers, 160 gsm vellum surface for pencils.
3. Setting Up Your Space
- Lighting: Natural daylight or a daylight‑balanced LED lamp prevents color distortion.
- Posture: Sit with forearms supported to avoid hand fatigue.
- Organization: Keep pencils in color family order; it speeds up decisions as you rotate around the mandala.
4. Foolproof Coloring Techniques
A. Mirror the Wheel
Color one wedge, then rotate your page 180° and replicate the palette. Continue halving the rotation until the ring is complete. This shortcut maintains symmetry without constant second‑guessing.
B. Light‑to‑Dark Layering
Start with a light base layer; add medium pressure toward edges; finish with a sharper, darker pencil along outlines. The gradient adds depth even on flat designs.
C. Two‑Color Alternation
Pick two contrasting colors—say teal and coral—and alternate petals. This classic combo looks intricate with minimal planning.
D. Accent with Metallics
Use gold or silver gel pens on the innermost or outermost ring. Sparkle draws the eye toward the design’s focal point.
5. Common Beginner Mistakes & How to Avoid Them
- Heavy Hand Syndrome: Pressing too hard early on flattens paper tooth, making blending difficult. Solution: Start with gentle layers; build saturation slowly.
- Color Overwhelm: Using every pencil in the box leads to chaos. Stick to 4–6 main hues plus neutrals for accents.
- Ignoring Paper Quality: Thin pages ripple with marker ink. Always test on a corner or use a blot sheet underneath.
6. Creating a Relaxing Routine
- Time Block: 15–20 minutes daily beats a marathon once a month.
- Soundtrack: Ambient playlists or nature sounds keep your mind calm.
- Progress Journal: Snap pictures after each session to track improvement and spot favorite palettes.
7. Level‑Up Challenges Once You’re Comfortable
- Gradient Rings: Blend three shades from center outward.
- Split‑Complementary Palette: Choose a main hue (blue) and the two colors adjacent to its complement (yellow‑orange & red‑orange) for visual harmony.
- Mixed‑Media Details: Add watercolor washes under pencil work or touches of white gel pen for highlights.
Final Thoughts
Mandala coloring invites you to slow down, breathe, and watch symmetry bloom beneath your fingertips. Start small, keep your palette simple, and remember: every petal is practice. With these tips and tools, your first mandala won’t be perfect—but it will be yours, and that’s what makes the journey worthwhile.


0 Comments